Did you know that every minute, 500 hours of video are uploaded to YouTube? In this crowded space, grabbing viewers’ attention is key. It’s not just about having great ideas. You need to make sure your video looks professional.
Adjusting your camera’s settings is the secret to making your YouTube videos stand out. By tweaking settings like resolution, frame rate, bitrate, shutter speed, aperture, ISO, and white balance, you can boost your video’s quality. This makes your content more engaging and professional.
Key Takeaways
- Cameras made in recent years can shoot in 4K video.
- Full HD (1920×1080) with a 16:9 ratio is good enough for most YouTube videos.
- Frame rates from 24fps to 60fps can give your videos a unique look.
- Getting shutter speed, aperture, and ISO right is key for good exposure and smooth footage.
- Adjusting white balance helps get the colors right in your videos.
Understanding Video Resolution
Creating high-quality YouTube videos means knowing about video resolution. It’s about how many pixels are in each video frame. This affects how clear and sharp the video looks. Common resolutions include 1920×1080 pixels (1080p), 3840×2160 pixels (4K), and even 8K.
Common Video Resolutions
4K is the top choice for the best look, with 8.3 million pixels. But, many top YouTube channels use 1080p. This resolution balances quality with file size, making it great for online creators.
Standard definition (SD) videos have 640×480 pixels. High definition (HD) videos are usually 1280×720 pixels (720p).
For the best video quality, start with the highest resolution your camera can do. It’s easier to lower the pixel count later than it is to increase it. Using 4K or 8K gives you more options for editing without losing quality.
The right video resolution depends on your needs and gear. Whether it’s 1080p, 4K, or 8K, pick what’s best for your YouTube videos. This ensures a great experience for your viewers.
Mastering Frame Rates
When making YouTube videos, the frame rate is key for smooth motion. The usual frame rates are 24FPS for a movie feel, 30FPS for NTSC areas, and 25FPS for PAL areas.
Now, we have higher frame rates like 60FPS or 120FPS. These are great for slow-motion shots, making action scenes look more real.
Choosing the right frame rate is important for your video’s look and feel. 24FPS gives a classic movie look. 30FPS and 25FPS are for TV and broadcasts. Trying out 60FPS or 120FPS can make fast scenes look clear and smooth.
Knowing how frame rate affects your video’s look and mood is key. By picking the right frame rate, you can make your content stand out. This way, you give your viewers a movie-like experience they’ll love.
- The standard frame rates are 24FPS (cinematic look), 30FPS (NTSC regions), and 25FPS (PAL regions).
- Higher frame rates like 60FPS or 120FPS can be used for slow-motion effects and action-oriented content.
- Matching the frame rate to the desired look and feel of your YouTube videos is crucial for a professional, polished final product.
By getting to know and using frame rates well, you can take your YouTube videos to the next level. You’ll grab your audience with a movie-like experience they won’t forget.
Optimizing Video Bitrate
Creating high-quality YouTube videos means paying attention to the video bitrate. This is the amount of data used to encode each frame, measured in megabits per second (Mbps). A higher bitrate means better video quality but also larger file sizes.
The right bitrate for your videos depends on your camera, resolution, and frame rate. Try to use the highest bitrate your setup can handle. This approach minimizes compression artifacts and keeps the video looking sharp.
Here are some recommended bitrate settings for different video resolutions and frame rates when streaming to YouTube:
| Resolution | Frame Rate | Minimum Bitrate | Maximum Bitrate | Recommended Bitrate |
|---|---|---|---|---|
| 4K / 2160p | 60 fps | 10 Mbps | 40 Mbps | 35 Mbps |
| 4K / 2160p | 30 fps | 8 Mbps | 35 Mbps | 30 Mbps |
| 1440p | 60 fps | 6 Mbps | 30 Mbps | 24 Mbps |
| 1440p | 30 fps | 5 Mbps | 25 Mbps | 15 Mbps |
| 1080p | 60 fps | 4 Mbps | 10 Mbps | 12 Mbps |
| 1080p | 30 fps | 3 Mbps | 8 Mbps | 10 Mbps |
| 720p | 60 fps | 3 Mbps | 8 Mbps | 6 Mbps |
| 240p – 720p | 30 fps | 3 Mbps | 8 Mbps | 4 Mbps |
The higher the video bitrate, the better the video quality. But, the file size gets bigger. It’s important to balance quality and size so your videos upload and play well on YouTube.
Adjusting Shutter Speed
Shutter speed is key for making YouTube videos look great. It controls how long the camera’s shutter is open, which changes how motion looks in your video. A fast shutter speed, like 1/60th of a second, stops action and reduces blur. A slower setting, like 1/30th of a second, gives a more cinematic, blurred look.
It’s best to set the shutter speed at double the frame rate of your video. For example, at 30 frames per second (FPS), use a 1/60th second shutter speed. This makes motion look smooth and natural without too much blur.
| Frame Rate | Recommended Shutter Speed |
|---|---|
| 24 FPS | 1/48 or 1/50 second |
| 30 FPS | 1/60 second |
| 60 FPS | 1/120 second |
Changing your shutter speed lets you control the motion blur and look of your YouTube videos. Try different settings to find the perfect mix of exposure and movement in your footage.
Best Camera Settings for YouTube Videos
When setting up your camera for YouTube videos, aim for quality, file size, and easy editing. Start by picking the highest resolution your camera can handle. But remember, your computer might struggle with high-resolution footage during editing. Also, think about frame rates, bitrates, and settings that make your YouTube videos look professional without making them too big.
Here are some tips to help you find the best camera settings for YouTube:
- Video Resolution: For top-notch footage, go for 1920×1080 pixels or more. If you can, aim for 4K. Many big YouTube channels still use 1080p, showing it’s still a top choice.
- Frame Rate: For most videos, 30 FPS is the go-to frame rate. But if you want a more movie-like feel, try 24 FPS. For slow-motion shots, use higher frame rates like 60p or 120p.
- Bitrate: The bitrate affects how clear each frame is. A higher bitrate means a better quality video but also a bigger file size. This means you’ll need more storage and faster memory cards.
- Shutter Speed: Changing the shutter speed changes how blurry motion looks and how bright the video is. A good rule of thumb is to double the frame rate for the shutter speed.
- ISO: ISO controls how bright your shot is, but high ISOs can make your video noisy. Try to keep it between 100-1600 for the best quality.
- White Balance: White balance affects the color temperature of your footage, making colors look right under different lights.
By tweaking these YouTube video camera setup settings, you can make videos that look professional and grab your audience’s attention.
| Setting | Recommended Value |
|---|---|
| Video Resolution | 1920×1080 pixels or higher (aim for 4K) |
| Frame Rate | 24-30 FPS (60 FPS or higher for slow motion) |
| Bitrate | Higher bitrates for better quality (larger file sizes) |
| Shutter Speed | Twice the frame rate (e.g., 1/60s for 30 FPS) |
| ISO | 100-1600, leaning towards 100 |
| White Balance | Adjust to match lighting conditions |
FlexClip Review: A Comprehensive Look at Its Features & Benefits
Balancing ISO
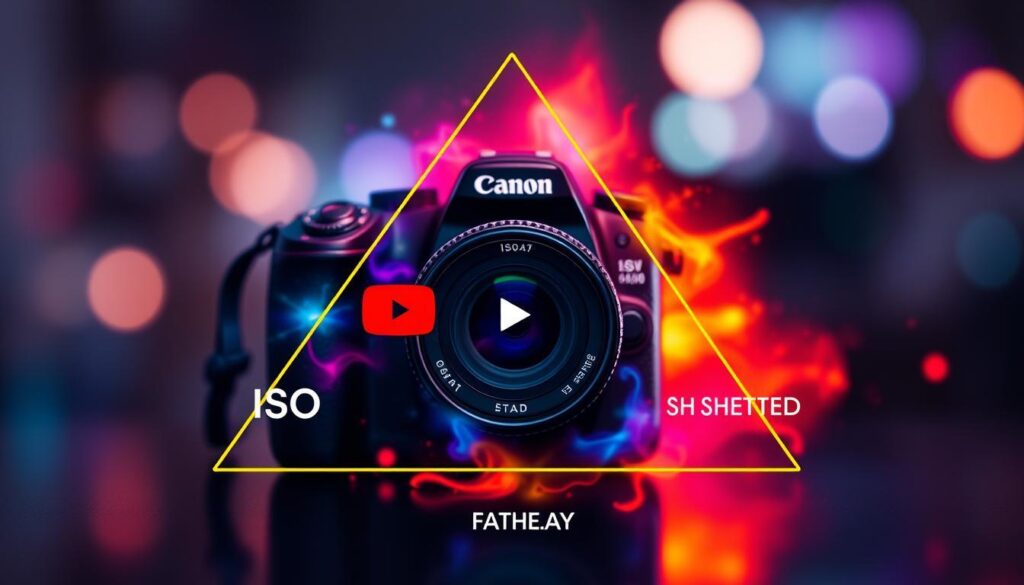
Capturing great YouTube videos means mastering the exposure triangle – ISO, aperture, and shutter speed. ISO is key, setting how sensitive your camera is to light. Getting the right ISO balance is crucial for great video exposure and quality.
Most cameras go from 100 to 6400 ISO, some up to 25,000+. Here’s a basic guide for video ISO settings:
- 100/200 for bright scenes
- 400 for cloudy or indoor shots
- 800 for scenes with little light
- 1600+ for very dark scenes
For scenes in low light, use 800 to 3200 ISO for video. But, a lower ISO is better to keep your video clear and clean.
Adjusting ISO is key to your video’s quality. Auto-ISO helps with changing lights, but it can cause issues in dark places. Knowing how ISO, aperture, and shutter speed work together is vital for great YouTube videos.
The Exposure Triangle
The exposure triangle is key to balancing ISO, aperture, and shutter speed in photos and videos. By tweaking these, you can get the right exposure and quality for your videos.
Knowing the exposure triangle well is a must for making your videos look good and professional. It helps you adjust your camera settings for any lighting, getting the perfect shot every time.
Setting White Balance
White balance is key to the color temperature of your YouTube videos. It makes your footage look warm or cool. Cameras have preset options for different lights, like daylight or tungsten. You can also adjust the Kelvin color temperature manually for a specific look.
Getting the white balance right is vital for true colors in your footage. The lighting where you shoot affects the settings you need. For sunny days, use a high Kelvin setting, around 5500K, for a cool tone. Indoors under tungsten lights, use a lower setting, about 3000K, to correct the warm tones.
Knowing how white balance, color temperature, and Kelvin work lets you control your video’s colors. Try different presets and manual adjustments to match your scene and style.
| Lighting Condition | Recommended Kelvin Setting |
|---|---|
| Golden Hour (Outdoor) | 3500K |
| Sunny/Neutral Sky (Outdoor) | 5500K |
| Natural/Window Light (Indoor) | 6000K |
| Overcast or Shade (Outdoor) | 6500K |
Finding the right white balance isn’t a one-size-fits-all approach. It’s important to experiment and adjust the Kelvin value for your specific lighting and desired look in your YouTube videos.

Conclusion
Mastering key camera settings will help you make YouTube videos that stand out. Experiment with resolution, frame rate, bitrate, shutter speed, aperture, ISO, and white balance. This will help you find the best settings for your videos and style.
Use the latest technology like high-end smartphones, DSLR and mirrorless cameras, and software like Riverside.fm. These tools let you make YouTube videos with great quality and depth. You can capture stunning 4K footage and edit your content smoothly.
Understanding camera settings and video production is key to making great YouTube videos. By learning these skills, you can make content that grabs your audience’s attention. This will help you stand out in the online video world. So, use your creativity and knowledge to make your YouTube videos more professional and engaging.

